
Earlier this year, I started a WordPress blog. In nine months, I managed to publish four blog posts. That’s pitiful. The fact is creating content through WordPress is time consuming. Then I heard about people using Microsoft Word to publish their blogs. I found an article by Joe Foley and tried it out. The thing worked like a charm.
Here are the steps to begin publishing to WordPress with Microsoft Word.
Basic Requirements
I got it work with Microsoft Word 2010 and Microsoft Word 2013 but I’m sure it’ll work with previous versions. I just haven’t tested it. The only thing you need is the URL of your WordPress blog and your login credentials (user name and password). Microsoft Word uses that to communicate with WordPress.
Getting Started
If you’ve never worked with Word templates, you’re not alone. I’ve never worked with templates before either. But that’s basically all there is to begin publishing your work to WordPress.
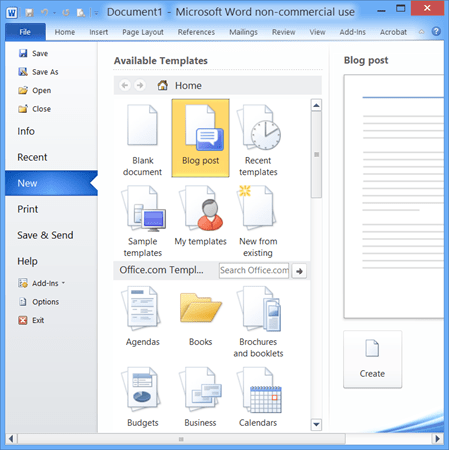
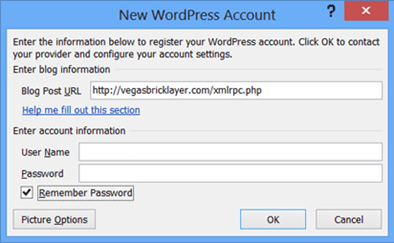
Open Microsoft Word and create a new document based on the Blog post template. If this is your first time creating such a document, Word will ask you to register a blog account. You can do this now or do it later. If you click the Register Now button, Word will launch a blog registration wizard to collect your WordPress URL, user name, and password. The only unusual thing is Word will append xmlrpc.php to your WordPress URL.

Create Content and Publish
The final step is to create your content and publish. This process is quite self-explanatory. There’s a place for the blog’s title. There’s a button to insert categories. If you’ve registered your blog, Word will show a list of available categories. And finally, there’s a button to publish your post. Word provides an option to publish as a draft.
As a side note, this post was published using Microsoft Word 2010 and images uploaded without problems.

Security Warning
I should mention that because Microsoft Word communicates with WordPress through HTTP, you may get this warning.

